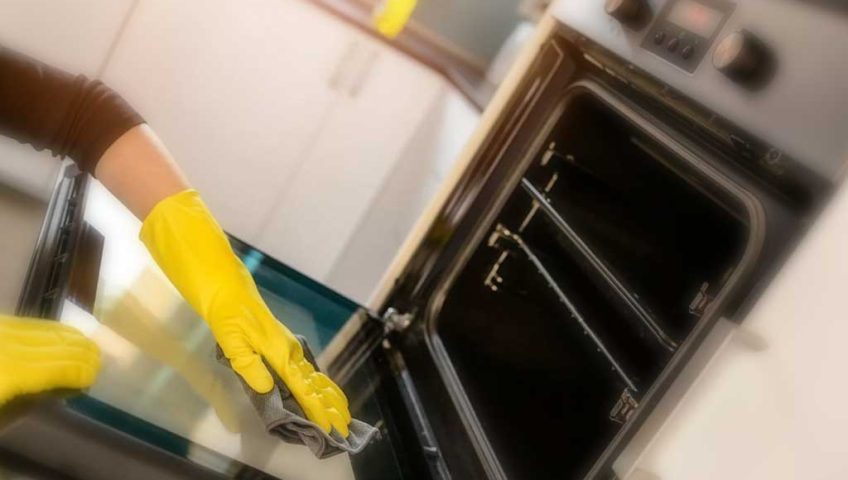
A clean oven is crucial for maintaining a healthy and functional kitchen. Unfortunately, it’s one of the most neglected household chores. Over time, a dirty oven can cause unpleasant odors, smoke, and even fires. Not to mention, the grime can impact the oven’s efficiency, leading to longer cooking times and higher energy bills.
To avoid these issues, it’s essential to clean your oven regularly. But where do you start? In this article, we’ll cover everything you need to know about oven cleaning and maintenance. From the supplies you’ll need to the step-by-step process, we’ve got you covered.
Supplies You’ll Need
Before we dive into the cleaning process, let’s talk about the supplies you’ll need. Here’s what you’ll need to gather:
- Oven cleaner
- Gloves
- Scrub brush or sponge
- Old towels or rags
- Trash bag
- Water
- Vinegar
It’s essential to use gloves when cleaning your oven. Oven cleaners can be harsh and irritate the skin. Additionally, you’ll want to use an old towel or rag that you don’t mind getting dirty.
Step-by-Step Guide to Cleaning Your Oven
Now that you’ve gathered your supplies let’s get started with the step-by-step guide to cleaning your oven.
Step 1: Remove Racks and Dishes
Before you begin cleaning, you’ll need to remove the oven racks and dishes. Take these out of the oven and set them aside.
Step 2: Preheat the Oven
Set your oven to 200 degrees Fahrenheit and let it preheat for 10 minutes. This will make the cleaning process easier.
Step 3: Apply the Cleaner
Put on your gloves and spray the oven cleaner inside the oven. Be sure to follow the instructions on the cleaner’s label, and don’t forget to spray the sides, top, and bottom of the oven.
Step 4: Wait
Most oven cleaners require some time to work their magic. Typically, you’ll need to let the cleaner sit for 20-30 minutes. Be sure to follow the instructions on the label.
Step 5: Scrub
After the cleaner has sat for the appropriate amount of time, it’s time to start scrubbing. Use a scrub brush or sponge to remove the grime and debris. For tough spots, you may need to use some elbow grease.
Step 6: Wipe Clean
After you’ve scrubbed the oven, use an old towel or rag to wipe it clean. Be sure to remove any leftover cleaner.
Step 7: Clean the Racks and Dishes
While the oven is cooling, take some time to clean the oven racks and dishes. You can use the same oven cleaner or vinegar and water mixture. Scrub the racks and dishes with a scrub brush or sponge and rinse them thoroughly.
Step 8: Replace Racks and Dishes
Once the oven is cool and the racks and dishes are clean, it’s time to replace them.
Oven Maintenance Tips
Now that you know how to clean your oven let’s talk about how to maintain it. Here are a few tips for keeping your oven in tip-top shape:
- Clean your oven regularly. We recommend cleaning it at least every three months.
- Use an oven liner. An oven liner can catch drips and spills, making cleaning easier.
- Wipe up spills as soon as possible. The longer they sit, the harder they are to clean.
- Use the self-cleaning feature (if your oven has one) sparingly. While it may seem like an easy solution, the high temperatures can cause damage to the oven and even start fires.
- Keep the oven door clean. It can become stained with grease and grime, making it harder to see inside the oven.
Alternative Oven Cleaning Methods
If you’re not comfortable using oven cleaner, there are alternative cleaning methods. Here are a few:
- Vinegar and baking soda: This natural cleaning solution is an effective alternative to harsh oven cleaners. Simply mix a paste of baking soda and water, spread it inside the oven, and let it sit for 15-20 minutes. Then, spray vinegar on the baking soda and let it foam. Use a sponge or scrub brush to clean the oven and rinse thoroughly.
- Lemon juice and salt: Mix lemon juice and salt to make a paste. Spread it inside the oven and let it sit for 15-20 minutes. Scrub the oven with a sponge or scrub brush and rinse thoroughly.
- Steam cleaning: Some ovens come with a steam cleaning function. This method uses high heat and steam to loosen and dissolve the grime inside the oven. Once the steam cleaning cycle is complete, wipe the oven clean with a damp cloth.
Conclusion
Cleaning your oven may not be the most glamorous task, but it’s an essential part of kitchen maintenance. A clean oven not only looks better, but it also functions better. By following our step-by-step guide, you can keep your oven in top shape and avoid unpleasant odors, smoke, and fires. Additionally, by using alternative cleaning methods and practicing regular maintenance, you can ensure your oven stays clean and efficient for years to come.
Remember, always wear gloves when cleaning your oven, and follow the instructions on the cleaner’s label. If you’re not comfortable using harsh chemicals, try one of the alternative cleaning methods we’ve outlined. By taking the time to clean your oven, you’re investing in the health and safety of your home.

