Embarking on a home renovation journey is undoubtedly a significant milestone for any family. It’s an opportunity to reimagine spaces, particularly areas like the kitchen or bathroom, transforming them into personalized havens. A well-designed kitchen can inspire culinary creativity, while a beautiful bathroom can become a serene retreat, a place to unwind and wash away the day’s stresses. These rooms can significantly enhance your living experience, boosting your mood and providing comfort.
However, maintaining kitchen and bathroom spaces’ aesthetic appeal and functionality requires attention to detail and routine care. One of the aspects often overlooked in this process is the grout between the tiles. Freshly laid, this grout adds a crisp, clean finish to the new tiles, beautifully completing the renovation project. Yet, over time, this once-pristine grout can become discolored and lose its vibrancy due to daily use, grime, and mildew. After just a few years, what was once a bright, clean grout can transform into an unappealing sight that detracts from the overall aesthetic of your bathroom or kitchen.
In this article aims to equip you with practical knowledge on how to restore your grout’s original brightness. Our simple advises will delve into effective methods of cleaning grout between tiles. From gentle natural cleaners to powerful chemical solutions, we’ll explore a range of options, helping you to select the one that best fits your needs. We’ll also discuss radical measures for those stubborn, hard-to-remove stains, ensuring you have a comprehensive understanding of all possible solutions.
- Clean tiles grout with lemon juice and soda.
- Clean tiles grout with specific chemicals.
- Replace tiles grout.
Clean tiles grout with lemon juice and soda
Enhancing the brightness of tile grout can be achieved by using readily available kitchen items such as baking soda, vinegar, and lemon juice.
Firstly, gather your supplies: half a cup of freshly squeezed lemon juice (Citric acid), 125 milliliters of 9% strength vinegar, and 100 grams of baking soda. Combine these ingredients in a bowl with a glass of warm water, making sure they dissolve completely to create a potent cleaning solution.
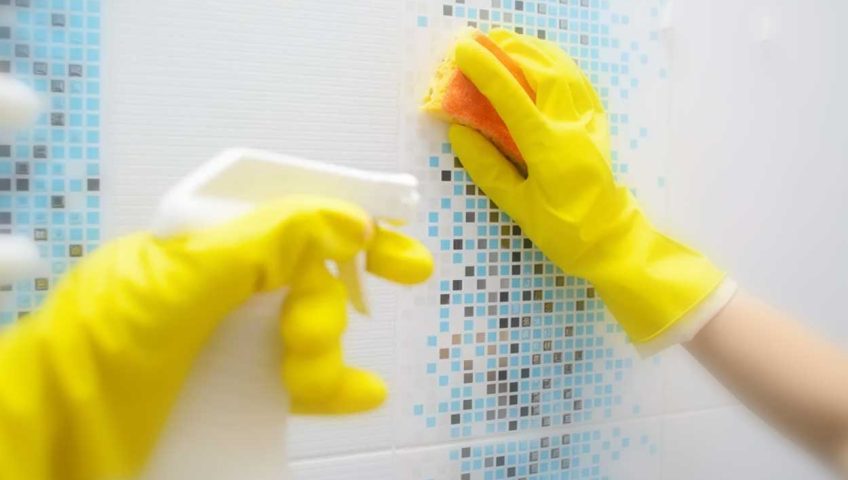
To apply this homemade grout cleaner, immerse a sponge into the solution and rub it into the grout lines between your tiles. Make sure all the grout is well coated with the solution, allowing it to seep into any crevices.
Once applied, it’s crucial to let this mixture work its magic for a few hours. This will help to lift the grime and stains from the grout. Following this, take a toothbrush or a stiff-bristled brush to scrub the grout vigorously. This action will dislodge any stubborn dirt, enhancing the overall cleanliness of your tiled area.
Bear in mind, achieving the best result might require repeating this cleaning process several times, depending on the level of grime build-up. By practicing this cleaning routine periodically, your grout lines will maintain their cleanliness and aesthetic appeal.
Clean tiles grout with specific chemicals
For those who wish to expedite the tile grout cleaning process in their bathrooms, utilizing specific chemicals can prove to be a significantly efficient alternative. While this method might require less physical effort and time than traditional methods, it’s crucial to note that the typically mild cleaners used for kitchen utensils are not potent enough for this task. The grime that accumulates in the grout lines of bathroom tiles requires more aggressive cleaning agents, usually acid or alkali-based.
When selecting a cleaning agent, solutions based on chlorine are particularly effective. These agents, designed to eliminate soot and aged grease, are readily available in most home improvement or household chemical stores. They’re adept at handling various types of dirt and are known for their ability to infiltrate deep into the grout lines, making them an excellent choice for this task.
Another chemical option to consider is whitewash, a product primarily composed of chlorine. However, caution is advised as it is only suitable for white tiles due to its potential to bleach the color out of colored tiles. Using whitewash on non-white tiles may result in undesirable discoloration.
A popular non-chlorine alternative is oxygen bleach, with well-known brands like Vanish being an excellent choice. To use oxygen bleach, dilute it with an equal amount of water (in a 1:1 ratio). Apply the resulting mixture to the grout lines and let it sit for a few hours. This bleach works by releasing oxygen when it contacts water, resulting in a chemical reaction that breaks down stains and grime. After allowing it sufficient time to act, rinse off the residual solution with water.
Remember, when using any chemicals, it’s important to follow safety precautions, such as wearing gloves and ensuring adequate ventilation in your bathroom. These stronger cleaning agents can not only brighten your grout but also improve the overall appearance of your bathroom tiles with less time and effort required.
Replace tiles grout
When it comes to cleaning tile grout, sometimes the most effective method is also the most radical one. Many professional home builders and repairers affirm that some stains and grime are so stubborn that the only viable solution is a complete grout replacement. While this approach might seem daunting at first, it can often provide the most dramatic transformation, breathing new life into your tiled surfaces.
The process of grout replacement starts with the complete removal of the existing grout. This procedure requires patience and meticulousness, as it can be time-consuming. To extract the old grout, you’ll need a small chisel or scraper. The goal is to scrape away the grout lodged within the crevices between the tiles, taking care not to damage the tiles themselves.
For those who do not have access to professional tools, creating a homemade scraper is an option. This can be done by cutting a metal tube of the appropriate diameter in half. This action creates a makeshift blade with a sharp edge, perfect for tackling grout removal. With your homemade scraper, you’ll chip away at the grout lodged between the tiles.
While employing this method, it’s crucial to exercise precision and caution to prevent damaging the tiles. Be careful not to scrape the tiles themselves, as this can cause unsightly scratches or other forms of damage on their surfaces. Your objective is to remove the grout while leaving the tiles intact.
Once the old grout is entirely removed, it’s time to apply new grout. You’ll spread this fresh grout into the vacant spaces between the tiles, filling them to create a neat and tidy appearance. This total refresh not only restores the look of the grout but also serves as a preventative measure against future dirt accumulation and mould growth. In the end, you’ll be rewarded with a pristine and renewed tiled surface, making the effort of this radical method worthwhile.
Conclusion
Maintaining the cleanliness and vibrancy of your tile grout is integral to preserving the overall aesthetic of your bathroom and kitchen. From simple homemade solutions to more robust chemical methods, the right approach can effectively tackle stubborn grime and discoloration. In extreme cases, grout replacement offers a complete refresh. By applying these tips and tricks shared on Prolonghm, you’ll keep your tiles looking as pristine as the day they were installed. Ultimately, the key to extending the life and beauty of your tiled spaces is regular care and attention to these often overlooked details.